
FEED FLAGS - Instructions #FEEDFLAG
Here at EpicOrange we've created the FEED FLAG #FEEDFLAG, specifically to ensure fast feeding without loss of time in XC racing!
We've also made it as easy to pitch and use as possible, ensuring time is saved in the pit as well as riding through!
Here are our guidelines for pitching the #FEEDFLAG, should you have any questions don't hesitate to contact us for a chat.
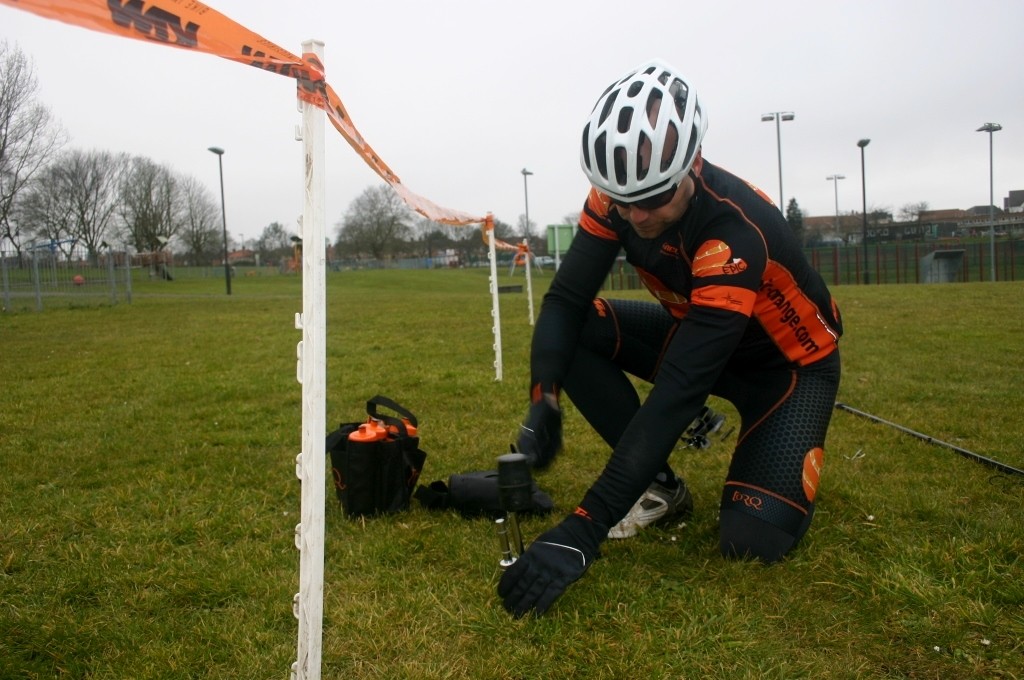
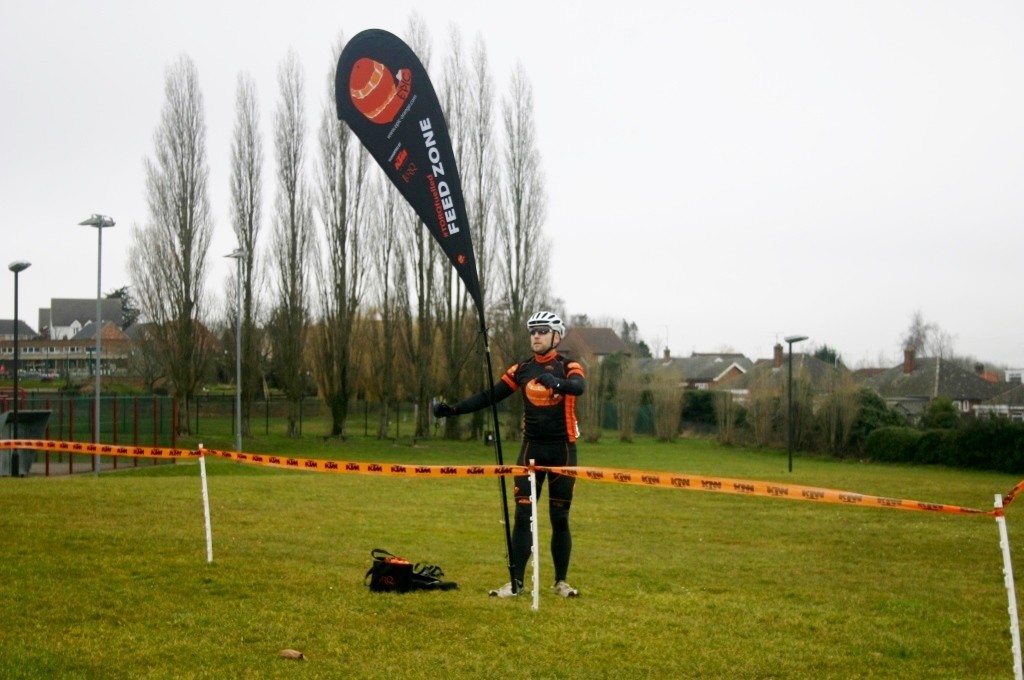
Pitching the Ground Spike
It may come as a surprise, but this is the most important part!
Angle at approx 95-100% with the spike towards the Rider side of the Feed Zone tape. Ensuring you keep the spike just inside the zone itself for safety reasons. The angle of the spike is
essential to ensuring the bottle stays in line with the feed zone so pay attention and ensure a firm seating, ideally down to the base.


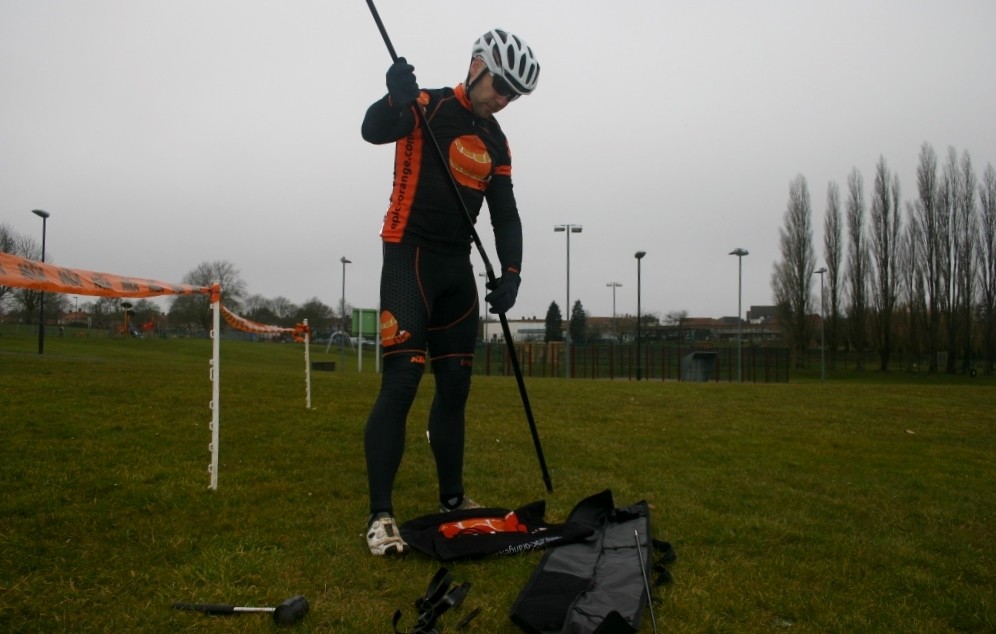
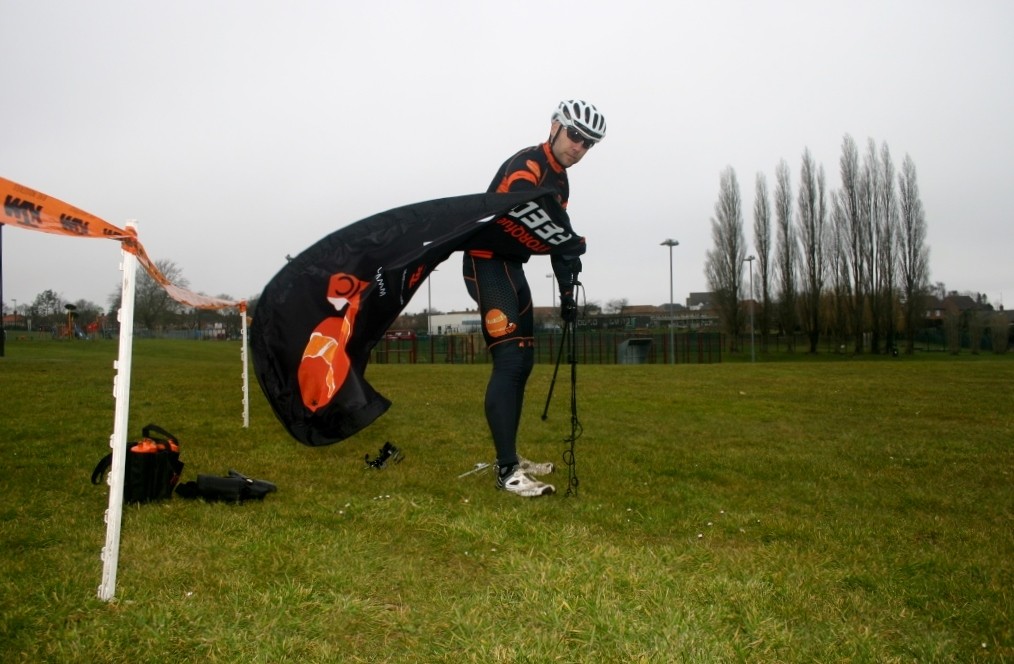


Pole & Graphic Assembly
Take the 3 pole sections, carefully assemble into one long section. Slide the flag graphic over the top, carefully pull down and ensure the pole end fully engages at the top edge of the flag before pulling taught. Holding the pole and graphic pull the shortest band down and over either hooked side of the base clamp to hold the flag taught. If the band is too tight, firstly check the pole is fully engaged to the top end of the flag inside the sleeve, then try again. Once done, mount the flag onto the ground spike, it should now lean in towards the pit lane - without interfering with riders coming through.
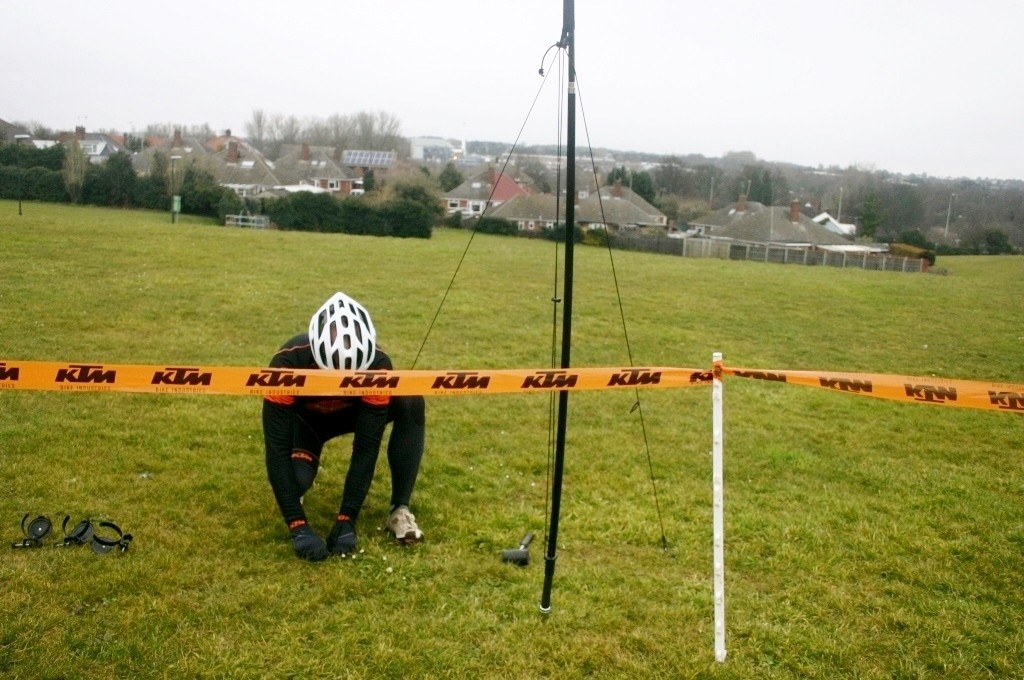
Using the pre-installed Guy Ropes
When the wind is higher or variable in direction you will need to use the pre-installed guy ropes, the high quality Ground spikes required come supplied. They are bright Orange for safety and are
suitable for a wide range of ground conditions! All you need is a hammer and about 30 seconds :)!
For extra stability in variable wind directions you can thread the cords inside the bottle holders, using the top 2 of 3 or both if only using 2 holders. This will help stabilise the flag in
changeable wind conditions and increase stability.


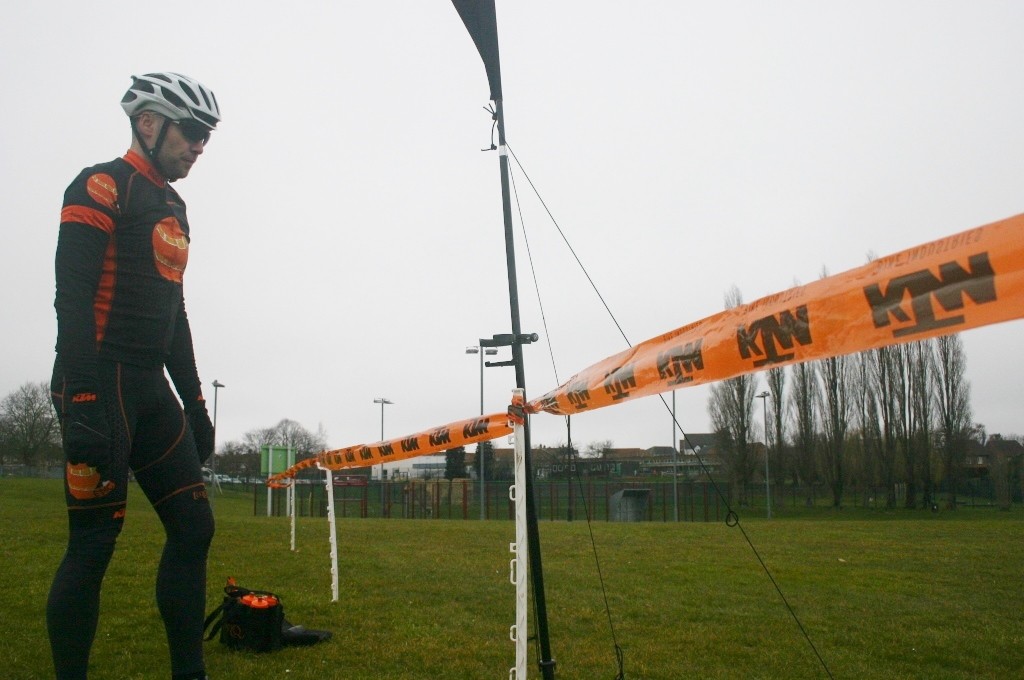

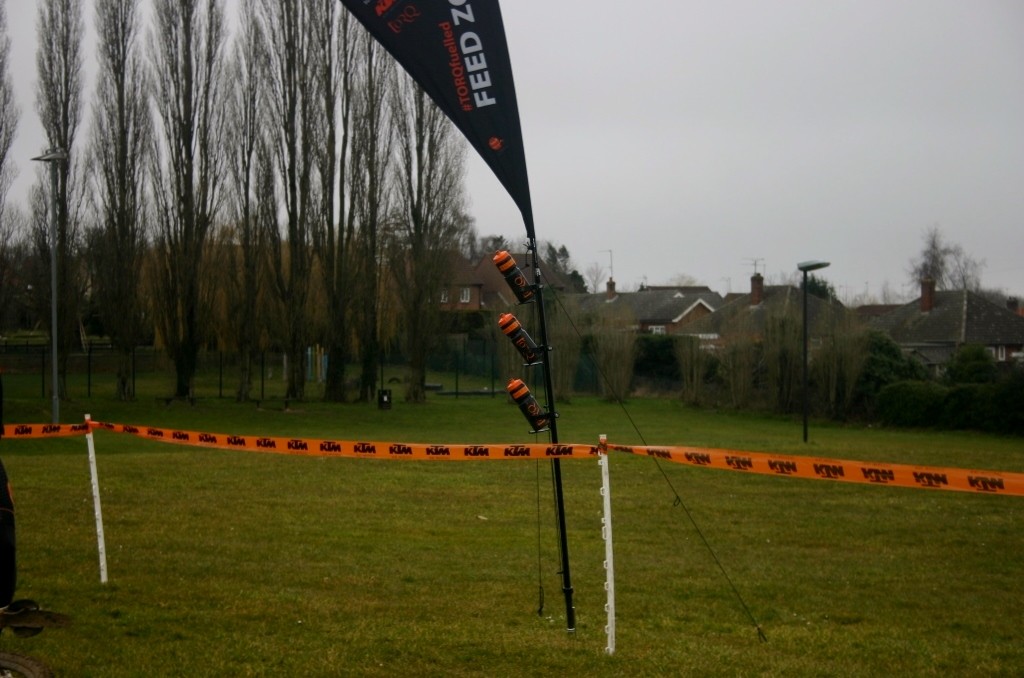


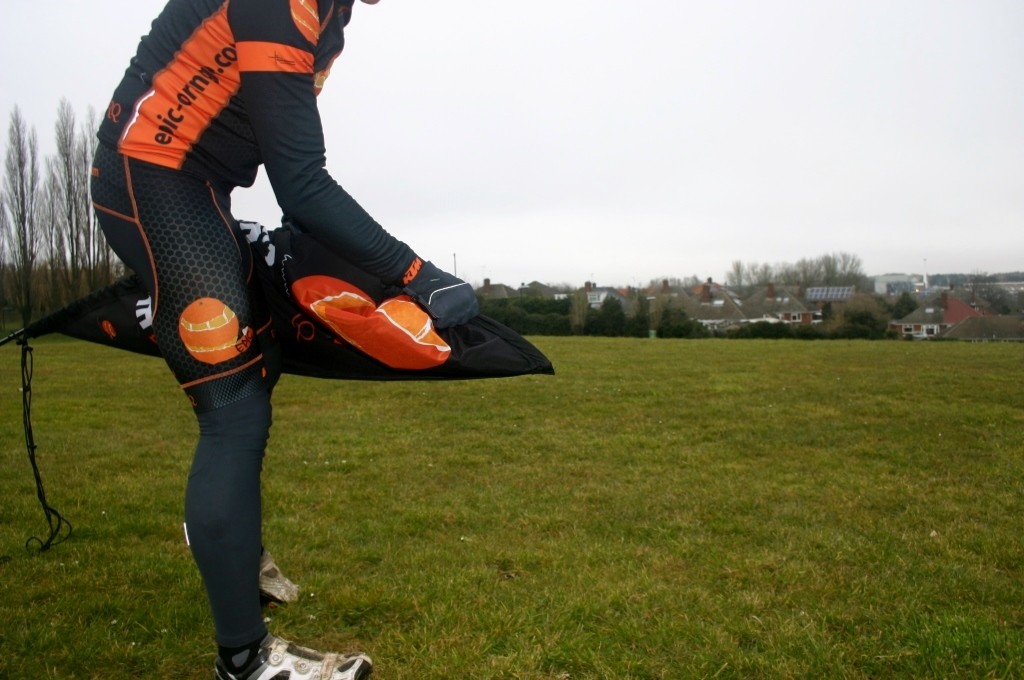
Mounting Bottle Holders
First let the FEED FLAG rotate to current wind direction. Don't worry too much about exact positioning, put them all in line. You can twist the bottom pole section (holding the flag section
above) to reset. once set the weight of the bottles on a calm day is enough to automatically correct and hold the flag in position. Use the fitted guy ropes for extra stability (if not wrap out
of the way). Bottle holders grip should be adjusted on your first deployment. A gentle squeeze of the holder arms together around a bottle to form a your desired level of grip. Not too tight, you
want them to be easily removed at speed. The ideal position is with the bottle leaning out of the cage.
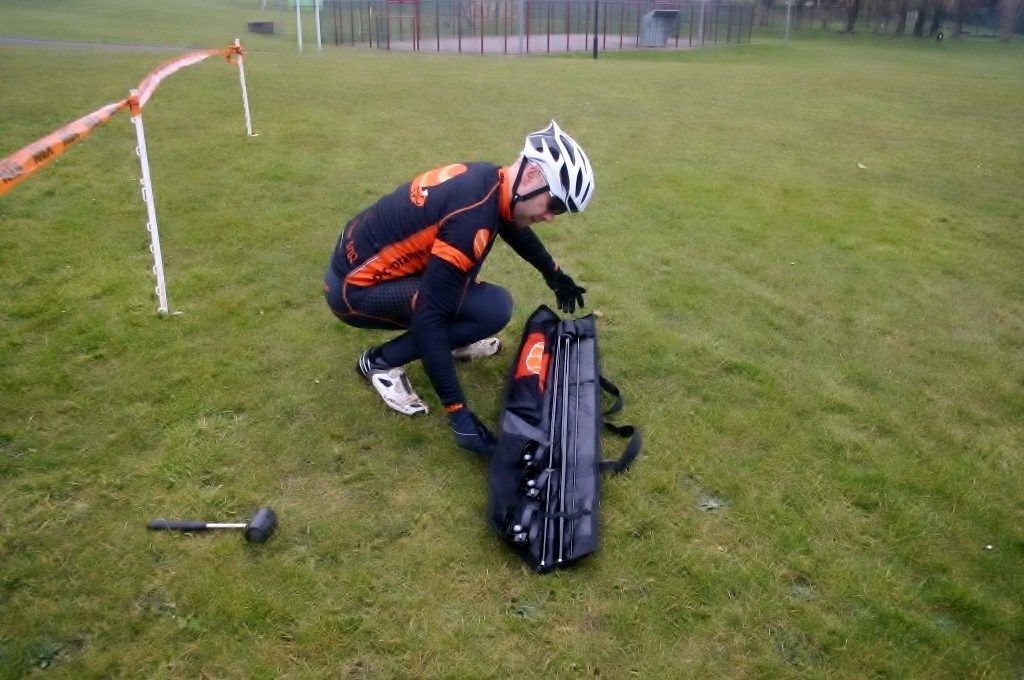
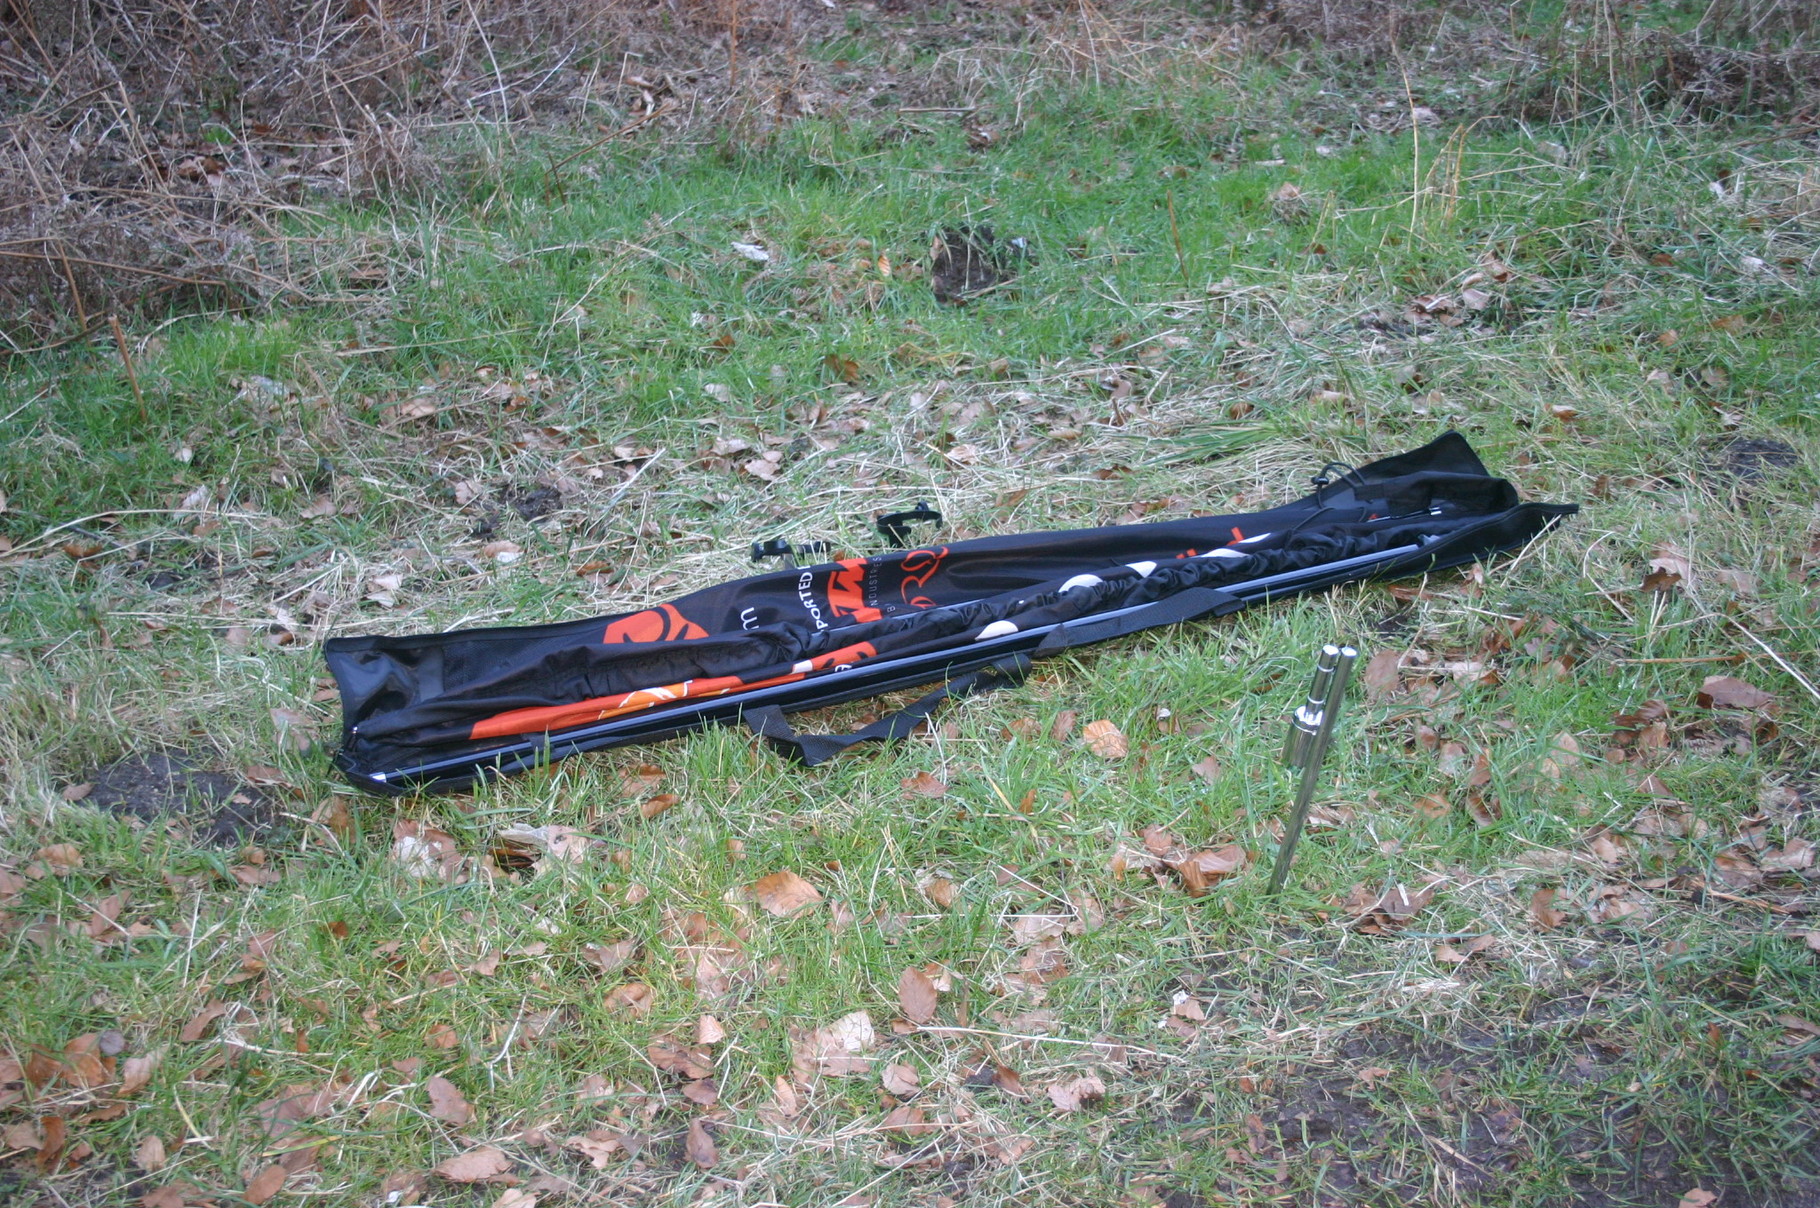
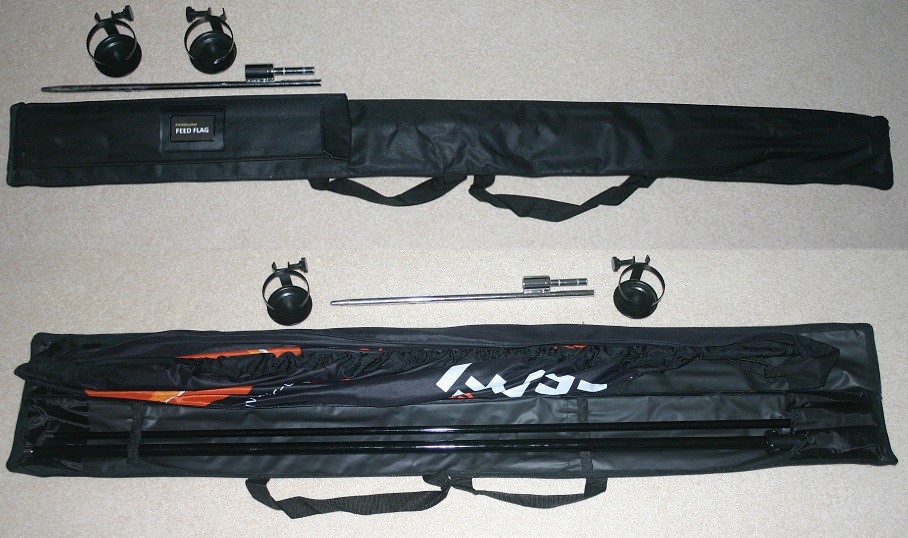
Storage Bag
The bag supplied is high quality and is capable of storing; Pole, Flag, Spike, Pegs and the 2/3 x Bottle Holders. The outer pocket can be used for the Spike and Pegs. You also have an external ID
pocket, which can be used for easy identification. Inside you will find pole loops to keep your poles secure. The flag can be kept on the top section if desired, this makes your next deployment
just that bit faster! Place the bottle holders over the poles, at the top end of the bag (top side down over the narrow end of the poles), then gently close the zip.


Design Options
Click for information on the 5 designs available for customisation.

#FEEDFLAG Hardware
Click for information on the quality hardware used, plus what makes this the best FEED solution for XC riders.

#FEEDFLAG Video
Click for General information and short Video of the #FEEDFLAG in action.